YouTube Editing Simplified: Tools and Techniques

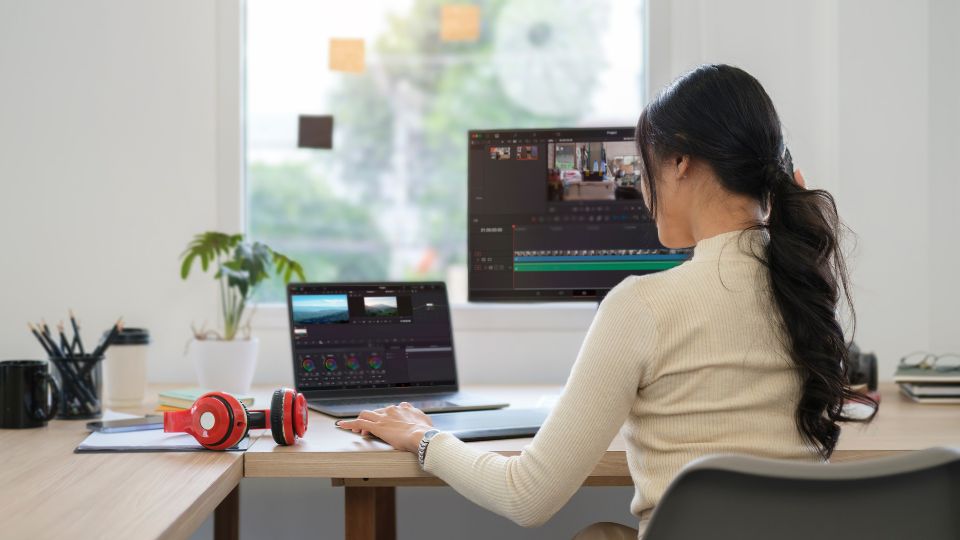
Editing videos for YouTube isn't just about cutting out the bloopers; it's a strategic process that can captivate an audience and keep them coming back for more. With over 500 hours of video uploaded every minute, how do you ensure your content doesn't get lost in the shuffle? It starts with the right tools and techniques. In this guide, we'll walk you through the essentials of video editing for YouTube, from selecting the ideal software to mastering different editing methods. Whether you're a beginner or looking to refine your skills, we've got you covered.
The software you choose is your ally in the editing process, and picking one is not a decision to be taken lightly. Do you opt for the versatility of Adobe Premiere Pro, the sleekness of Final Cut Pro X, or perhaps the free yet powerful Shotcut? Each platform has its perks and quirks, and we're here to help you navigate through them. Join us as we break down the pros and cons of the top video editing software options, ensuring you're well-equipped to bring your YouTube vision to life.
Choosing the Right Video Editing Software
Your choice of video editing software is pivotal in crafting content that resonates with your audience. It can be the difference between a smooth editing experience and one fraught with frustration. The market offers a range of software suited for different editing needs and skill levels, each with its own set of features and price points. Here's a detailed comparison to help you make an informed decision:
When considering your budget, remember that some professional-grade software like Adobe Premiere Pro operates on a subscription model, which can be more costly in the long run compared to a one-time purchase like Final Cut Pro X. However, the subscription model often includes regular updates and new features. On the other hand, free software like DaVinci Resolve offers a robust set of features at no cost, with the option to upgrade to a paid version for additional professional tools.
Method 1: Adobe Premiere Pro
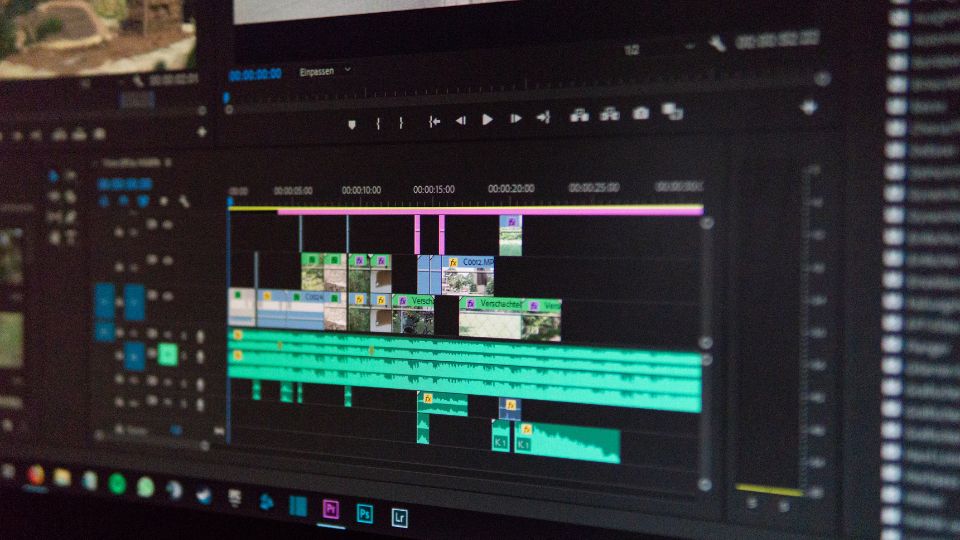
Adobe Premiere Pro stands as a pinnacle in the realm of video editing software, providing a comprehensive suite of tools that cater to the diverse requirements of video editors and filmmakers. With its inception in 1991, Premiere Pro has evolved significantly, offering a sophisticated non-linear editing system that has become a standard in the industry. It's part of the Adobe Creative Cloud, ensuring seamless integration with other Adobe products, facilitating a flexible and dynamic editing environment.
1. Starting with Premiere Pro
Getting started with Adobe Premiere Pro involves a series of methodical steps to set the foundation for a smooth editing process:
Step 1: Project Initiation
Launching Adobe Premiere Pro and starting a new project is the first step. This sets the stage for your creative work, allowing you to organize and manage your assets effectively.
Step 2: Importing Media
With the 'Media Browser', importing media is straightforward. This tool is designed to navigate through your files and bring in the necessary video, audio, and graphic elements into your project.
Step 3: Sequence Setup
Creating a sequence is essential as it serves as the backbone of your edit. You can either drag clips into the timeline for an automatic sequence creation or craft one manually for more control.
Step 4: Editing Clips
The editing process is where your creative vision begins to take shape. The 'Razor Tool' and 'Selection Tool' are fundamental in trimming and arranging your clips to tell your story.
Step 5: Effect Adjustments
To refine the visual appeal, the 'Effect Controls' panel is your go-to for adjusting and applying video effects, giving you the power to enhance the visual narrative of your project.
Step 6: Audio Editing
Audio is a critical component of video production. Premiere Pro offers tools like the 'Audio Track Mixer' and 'Essential Sound' panel to ensure your audio is as polished as your visuals.
Step 7: Color Grading
The 'Lumetri Color' workspace is a dedicated environment for color correction and grading, a crucial step in achieving the desired mood and style for your video.
Step 8: Graphics and Text
Adding textual elements and graphics can enrich your content. The 'Essential Graphics' panel provides a wide array of options for creating and customizing these elements.
Step 9: Exporting the Project
Completing your project culminates in the export phase, where you finalize your video for platforms like YouTube, ensuring the settings are optimized for your target audience.
2. Comprehensive Pricing for Premiere Pro
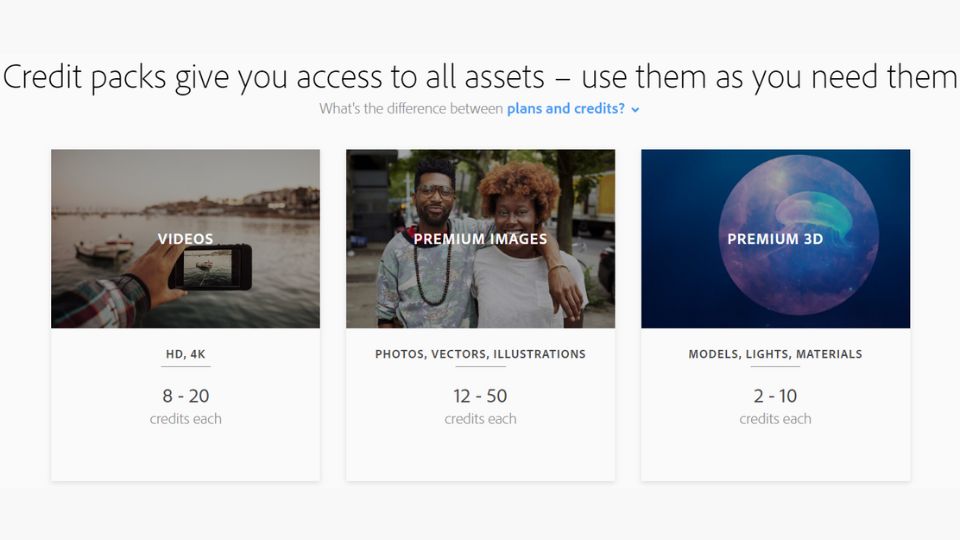
Understanding the pricing structure of Adobe Premiere Pro is vital for budget management in any video production endeavor. Here's a detailed look at the subscription models available:
3. Pros and Cons
An objective analysis of Adobe Premiere Pro's strengths and weaknesses can guide potential users in their decision-making process:
4. Ideal Users for Adobe Premiere Pro
Adobe Premiere Pro is tailored for a specific user demographic, ensuring that those who invest time and resources into the software can fully leverage its capabilities:
- Professionals in video editing and filmmaking will find Premiere Pro's extensive toolset indispensable for their work.
- Individuals dedicated to mastering the craft of video editing will appreciate the depth and breadth of features that Premiere Pro offers.
- Content creators and collaborative teams will benefit from the software's robust functionality and its seamless integration with other Adobe applications, facilitating a cohesive production workflow.
Method 2: Final Cut Pro X
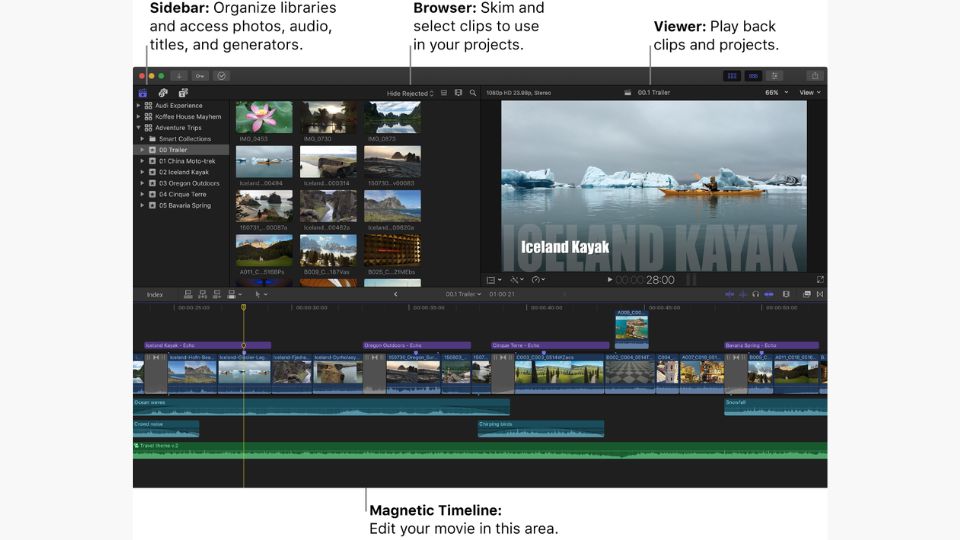
Final Cut Pro X is an intuitive yet powerful editing software that has gained a loyal following among Mac users. Its innovative magnetic timeline and comprehensive media organization capabilities make it a top choice for those seeking efficiency and control in video editing.
1. Navigating the Interface of Final Cut Pro X
Embracing Final Cut Pro X begins with understanding its unique interface and features:
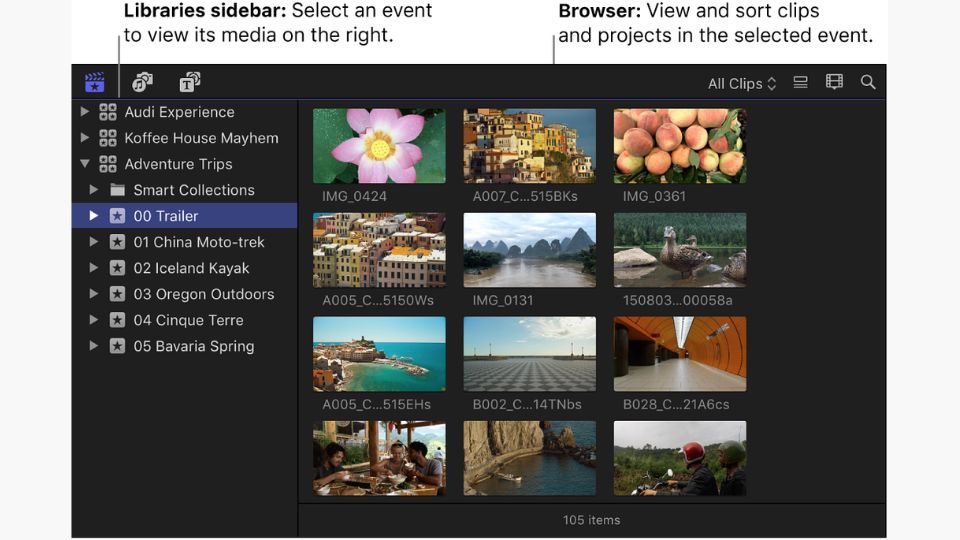
Step 1: Library and Media Management
After launching Final Cut Pro X, create a new library to house your projects, events, and media. The software's robust organization tools, such as keyword tagging and smart collections, streamline the management of your assets.
Step 2: Exploring the Magnetic Timeline
The magnetic timeline is a standout feature, allowing you to effortlessly arrange and edit clips without worrying about sync issues or unwanted gaps. This innovative approach to timeline editing ensures a clean, flexible workspace.
Step 3: Refining Edits with Precision
Utilize the 'Trim Tool' to make precise adjustments to your clips. Final Cut Pro X's trimming capabilities are designed for both speed and accuracy, ensuring your edits are seamless.
Step 4: Applying Effects and Color Grading
Dive into a variety of built-in effects to enhance your visual storytelling. The 'Color Board' offers an intuitive interface for making color adjustments and achieving the perfect look for your footage.
Step 5: Incorporating Titles and Graphics
Add a professional touch with titles and graphics using the 'Titles and Generators' sidebar. Customize these elements to complement the style and message of your video.
Step 6: Finalizing and Exporting Your Project
Export your finished project by clicking the 'Share' button. Final Cut Pro X provides optimized output settings for various platforms, including YouTube, to ensure your video looks its best when viewed by your audience.
2. Pricing and Accessibility
Final Cut Pro X comes with a one-time purchase price, which includes all future updates. This model can be particularly appealing for users who prefer to avoid ongoing subscription fees:
3. Pros and Cons
Weighing the advantages and limitations of Final Cut Pro X can help determine if it's the right fit for your editing needs:
4. Ideal Users for Final Cut Pro X
.jpeg)
Final Cut Pro X is tailored for a specific user demographic, ensuring that those who invest time and resources into the software can fully leverage its capabilities:
- Professionals in video editing and filmmaking will find Final Cut Pro X's extensive toolset indispensable for their work.
- Individuals dedicated to mastering the craft of video editing will appreciate the depth and breadth of features that Final Cut Pro X offers.
- Content creators and collaborative teams will benefit from the software's robust functionality and its seamless integration with other Apple products, facilitating a cohesive production workflow.
Method 3: DaVinci Resolve
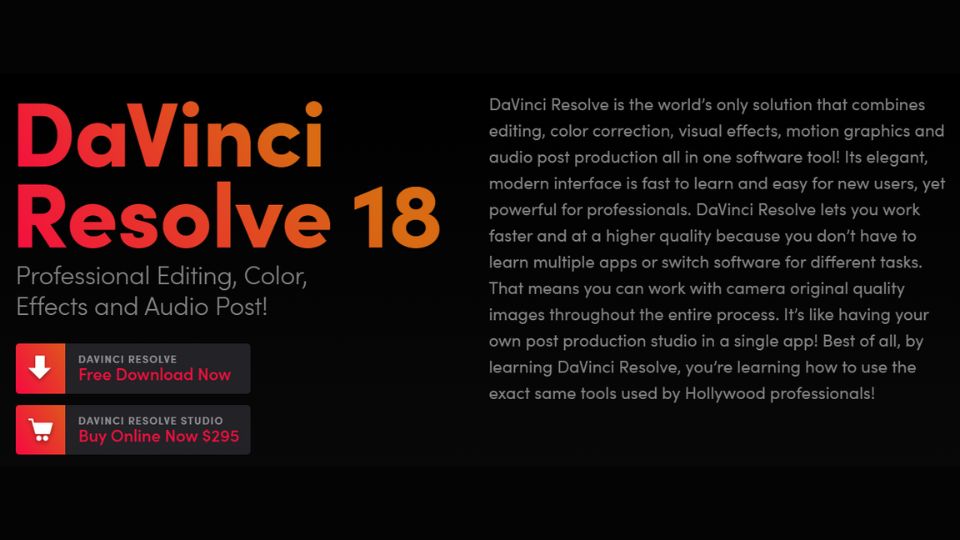
DaVinci Resolve is a comprehensive solution that combines editing, color correction, visual effects, and audio post-production all in one software package. It's particularly attractive for users who require high-end features without the high-end cost.
1. Mastering DaVinci Resolve's Workflow
DaVinci Resolve's workflow is divided into dedicated pages, each focusing on a specific aspect of post-production:
Step 1: Organizing Media
Begin by importing your media into the 'Media Pool'. Create bins to categorize your clips, making them easily accessible throughout your editing process.
Step 2: Crafting the Edit
The 'Edit' page is where your storytelling comes to life. Arrange your narrative on the timeline, and use tools like the 'Blade Tool' and 'Dynamic Trim' for fine-tuning your edits.
Step 3: Color Grading with Precision
Shift to the 'Color' page for DaVinci Resolve's renowned color grading capabilities. Employ 'Nodes' to construct sophisticated color workflows and apply corrections with precision.
Step 4: Visual Effects in Fusion
For visual effects, the 'Fusion' page offers a node-based compositing environment. Build complex effect chains to bring cinematic quality to your projects.
Step 5: Polishing Audio in Fairlight
The 'Fairlight' page is dedicated to audio post-production, providing advanced tools for mixing and mastering to ensure your project's sound matches its visual quality.
Step 6: Delivering Your Final Product
The 'Deliver' page features presets optimized for various platforms, including YouTube. Customize your export settings for complete control over the final output.
2. Pricing and Availability
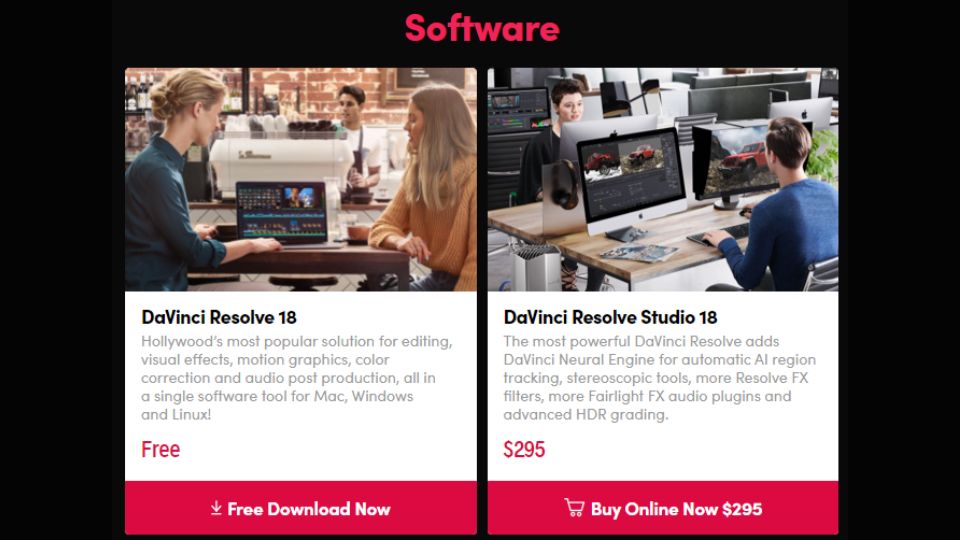
DaVinci Resolve offers a unique pricing model with both free and paid versions:
3. Ideal Users for DaVinci Resolve
DaVinci Resolve is designed to meet the needs of various user groups, each benefiting from its expansive feature set:
- Independent filmmakers and professional colorists will find the advanced grading tools unmatched in the industry.
- Visual effects artists and motion graphics designers can take advantage of the Fusion page's powerful compositing capabilities.
- Audio engineers and post-production sound professionals will appreciate the comprehensive audio suite available in the Fairlight page.
Method 4: iMovie
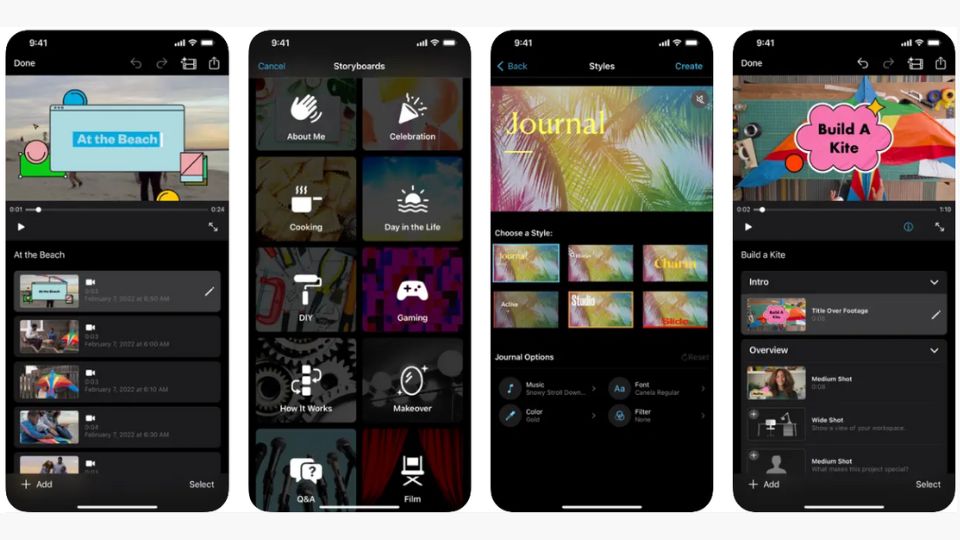
iMovie is Apple's entry-level video editing software, offering an accessible and user-friendly platform for Mac and iOS users. It's designed for quick editing tasks and for those new to video editing.
1. Getting Acquainted with iMovie
iMovie simplifies the video editing process with its straightforward approach:
Step 1: Project Initiation
Open iMovie and start a new project. The software's ease of use makes it a great starting point for beginners.
Step 2: Basic Editing Techniques
Import your footage and use the intuitive drag-and-drop timeline to arrange your clips. The 'Clip Trimmer' allows for easy adjustments to clip durations.
Step 3: Transitioning Between Scenes
The 'Transitions' browser offers a selection of transitions to smoothly connect your scenes, enhancing the flow of your video.
Step 4: Applying Effects and Color Correction
Choose from a variety of preset 'Video Filters' for a quick style change, or utilize the 'Adjust' panel for basic color correction to improve your footage's appearance.
Step 5: Adding Textual Elements
Incorporate titles using the diverse styles available in the 'Titles' browser, customizing the text to fit your video's theme.
Step 6: Sharing Your Creation
Once your project is complete, share it by clicking the 'Share' button and selecting 'Export File', which prepares your video for upload to platforms like YouTube.
2. Pricing and System Requirements
iMovie is available for free to all Mac and iOS users, making it an attractive option for those on a budget:
3. Pros and Cons
Evaluating iMovie involves considering its accessibility as well as its limitations:
4. Ideal Users for iMovie
iMovie serves a diverse array of users, each finding value in its straightforward editing experience:
- Beginner video editors and casual users who need a simple tool for creating videos quickly and without complexity.
- Students and educators looking for an accessible platform to produce educational content or class projects.
- Content creators who require a fast and efficient way to edit and publish videos on social media platforms.
Method 5: Shotcut
Shotcut is a versatile, open-source video editing software that offers a solid foundation for beginners and intermediate users who are looking for a cost-effective editing solution.
1. Delving into Shotcut's Editing Features
Shotcut's interface may seem basic, but it houses a suite of tools for comprehensive editing:
Step 1: Media Importation
Begin by importing your media files into Shotcut. The software supports a wide range of formats, making it highly adaptable.
Step 2: Timeline Editing
Assemble your project on the timeline, utilizing the 'Split at Playhead' function to divide clips and rearrange them as needed.
Step 3: Enhancing with Filters
Explore the 'Filters' panel to apply various effects and color grading options, adding depth and style to your video.
Step 4: Creating Titles
Add simple text overlays with the 'Text' filter, providing essential information or adding narrative elements to your project.
Step 5: Exporting Your Work
When you're ready to share your video, select 'Export' from the top menu. Choose a preset or customize your settings, then export the file, ensuring it's optimized for your intended platform, such as YouTube.
2. Understanding Shotcut's Accessibility

As an open-source platform, Shotcut is freely available to everyone:
3. Pros and Cons
Considering the advantages and potential drawbacks of Shotcut is crucial for potential users:
4. Ideal Users for Shotcut

Shotcut is designed to cater to a range of users who benefit from its open-source nature and broad feature set:
- Aspiring video editors and hobbyists will find Shotcut's no-cost entry point and comprehensive editing tools a great way to learn and practice video editing.
- Educators and non-profit organizations can utilize Shotcut's free software for creating content without the burden of software costs.
- Small business owners and content creators who need a reliable and cost-effective tool for producing marketing materials and social media content.
Final Cut: Selecting the Right Video Editing Tool
To wrap up, the choice of video editing software boils down to your specific needs and experience level. For the pros and those delving deep into video production, Adobe Premiere Pro offers a rich set of features. Mac users with a preference for sleek design and powerful functionality might lean towards Final Cut Pro X. DaVinci Resolve stands out for anyone prioritizing advanced color correction and audio post-production, and it's hard to beat the value of its free version. iMovie is the go-to for Apple loyalists taking their first steps in video editing, offering simplicity and ease of use. Meanwhile, Shotcut provides a viable, cost-free alternative for those working across different platforms. Consider your goals, skill set, and budget, and let that guide you to the software that will best support your video projects.