Need Help with iPhone Screen Captures?
Have you ever wished you could capture a fleeting digital moment directly from your iPhone to share with the world, or perhaps just to keep for your own reference? Whether it’s a high score in a game, a bug you want to report, or a step-by-step tutorial, screen recording on an iPhone has become an essential skill in the digital age. But how do you do it? And once you've captured that precious footage, what then? This comprehensive guide is designed to walk you through the ins and outs of screen recording on your iPhone, ensuring you'll be an expert in no time.
Enabling Screen Recording on Your iPhone
Transforming your iPhone into a screen recording powerhouse is just a few taps away. To harness this capability, you must first integrate the Screen Recording function into your iPhone's Control Center for quick access. Here's how to set it up:
- Launch the Settings app on your iPhone, symbolized by the gear icon typically found on your home screen.
- Glide through the menu and select Control Center to customize its options.
- In the subsequent menu, you'll discover Screen Recording nestled within the array of 'More Controls'.
- Beside the Screen Recording option is a green plus icon (+). Give it a tap, and voilà! The feature ascends to the 'Included Controls' section, signifying its active status in your Control Center.
By performing these simple steps, you've effectively equipped your iPhone with a handy tool for capturing live content from your screen, whether for work, creating tutorials, or sharing gaming triumphs.
Initiating Screen Recording with Ease
Now that the Screen Recording button is at your fingertips in the Control Center, let's dive into the seamless process of capturing your screen's activity:
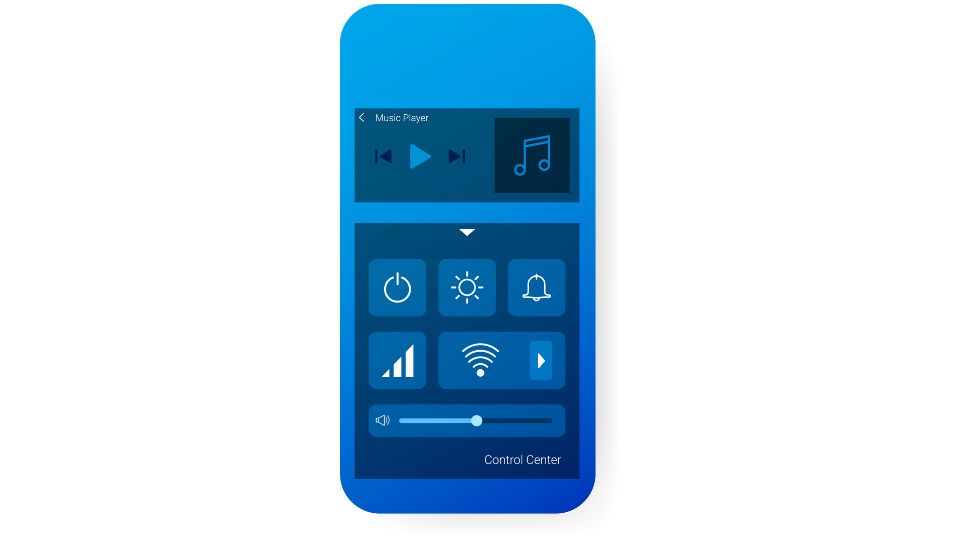
- To unveil the Control Center, execute a swipe down from the upper-right corner of your screen. For those with an iPhone model that cherishes the Home button, a swipe up from the bottom edge will do the trick.
- Within the Control Center, the Screen Recording icon awaits your tap—it's the one with an appearance akin to a target: a solid circle ensconced within a ring.
- Upon tapping, a brief three-second countdown commences, granting you a moment to prepare before the recording kicks off. You're then free to exit the Control Center and traverse your iPhone as it diligently records your actions.
- As a visual cue, the status bar or time indicator at the screen's zenith will blush in red, a clear signal that your screen is under the recording spotlight.
With these instructions, you're all set to capture your gaming escapades, app demonstrations, or any on-screen action you desire to share or preserve.
Halting Screen Recording
When the moment arrives to conclude your screen recording session, the process is just as intuitive:
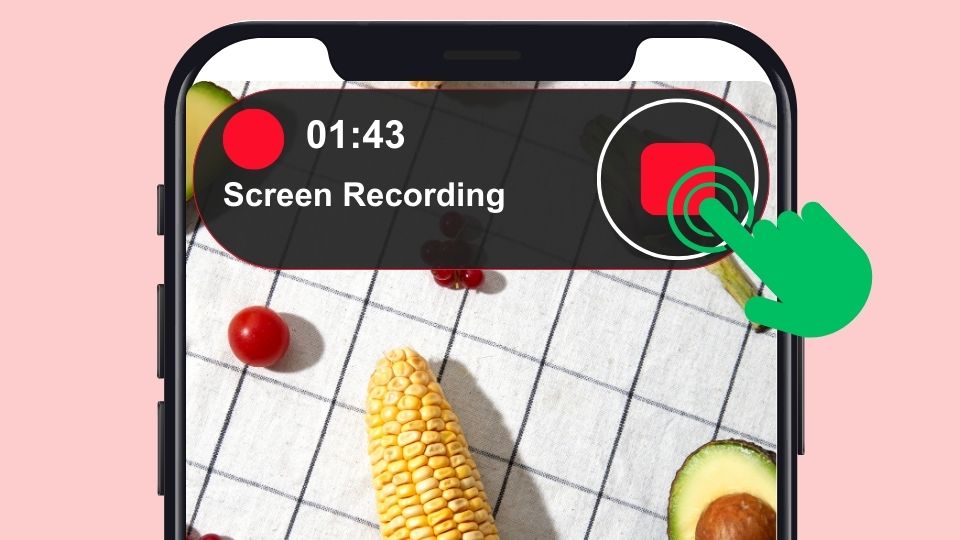
- A simple tap on the red status bar or time indicator, prominently displayed at the top of your screen, is your first step.
- A confirmation pop-up materializes, inquiring if you wish to terminate the screen recording. Select Stop to bring the recording to a close.
- Your freshly minted video content automatically finds a new home in your Photos app, ready for viewing, editing, or sharing.
As an alternative method, you can also halt the recording directly from the Control Center by tapping the Screen Recording icon once more—a convenient shortcut if you're in the midst of an activity and prefer minimal disruption.
Capturing Screen Recording with Audio
For those moments when your screen recording requires an extra layer of audio—be it commentary, narration, or in-app sounds—follow these amplified steps:
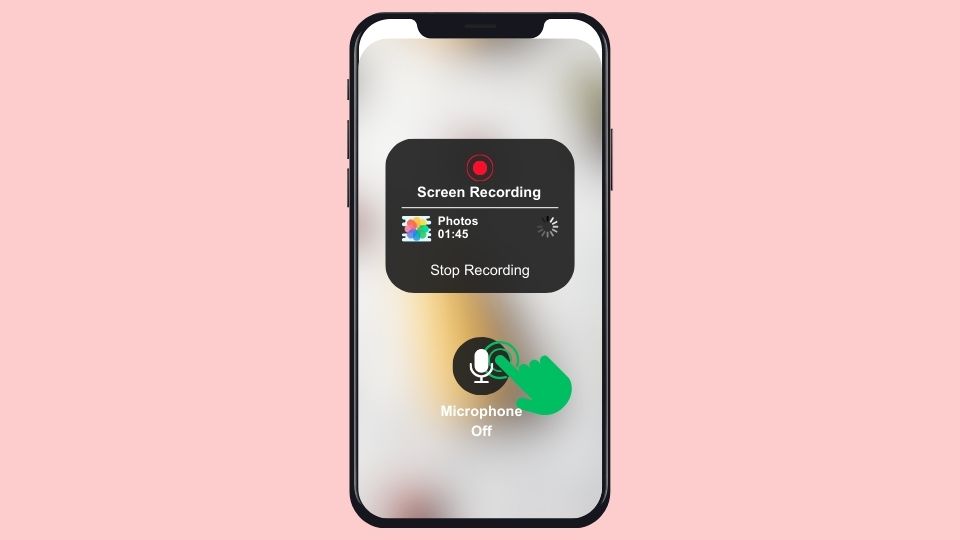
- Revisit the Control Center with the familiar swipe.
- This time, press and hold the Screen Recording icon to reveal additional controls.
- A hidden menu surfaces, presenting the Microphone Audio option. Tap it to engage your iPhone's microphone.
- With the microphone activated, select Start Recording. You're now recording both visual and audio content for a complete multimedia experience.
Whether you're aiming to create a tutorial with step-by-step guidance, or you're looking to immortalize a memorable FaceTime call, these instructions will ensure your screen recordings are not only seen but heard.
Locating Your Screen Recording
After you've successfully captured content using your iPhone's screen recording feature, you might wonder, "Where did my recording go?" Fear not, for accessing your screen recordings is a breeze. Here's how you can locate and manage your recordings:
- Open the Photos app, which is your central hub for all visual media on your iPhone.
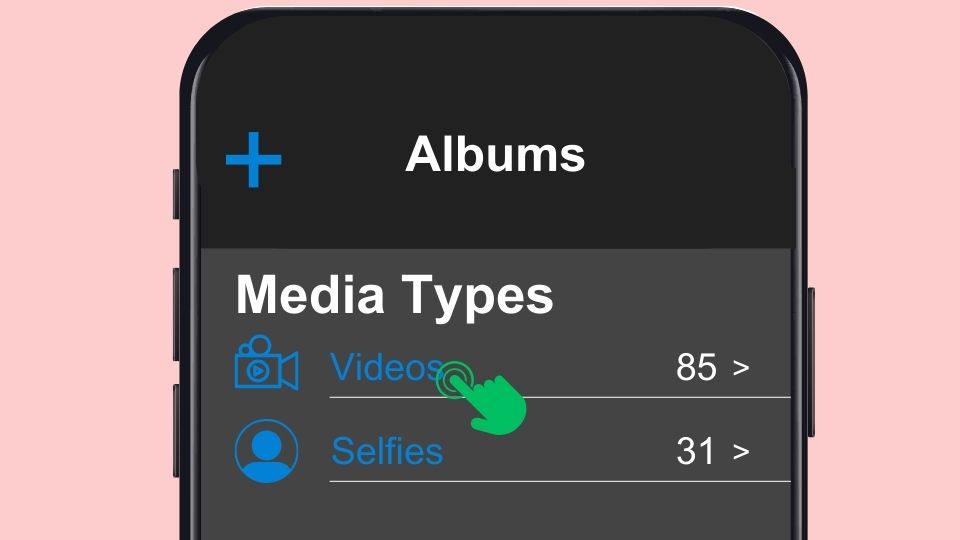
- Once inside, tap on the Albums tab located at the bottom of the screen to navigate through different categories.
- Scroll down to the Media Types section and select the Videos album.
- Your screen recordings will be nestled among your other videos. However, they're easy to identify—look for the red recording indicator bar at the top of the thumbnail, which is a signature trait of screen-recorded content.
Alternatively, for a more direct approach:
- You can also tap on the Albums tab and look for an album named Screen Recordings. This album is automatically created and specifically curated by iOS to house all your screen recording clips in one convenient place.
- Once you tap on the Screen Recordings album, all your recordings will be displayed in chronological order, with the newest captures at the bottom.
With these simple steps, you can quickly find, view, and organize all your screen recordings. Whether you're compiling a highlight reel, sharing clips with friends, or archiving important information, knowing how to locate your screen recordings makes managing your digital media effortless and efficient.
Troubleshooting Common Issues
Screen Recording Not Working
No Sound in Recording
Recording Stops Unexpectedly
Additional Tips and Tricks
- To create a smoother video, consider enabling the "Do Not Disturb" mode to prevent notifications from popping up during recording.
- Use video editing apps to trim your recordings or combine multiple videos.
- For a more professional recording setup, consider using external microphones for better audio quality.
Want to perfect your iPhone screen recording?
As you embrace the full potential of your iPhone's screen recording feature, you're now equipped to capture and share your digital world with ease and precision. Whether it's for work, education, or personal projects, the ability to record your screen with or without audio opens up a new realm of possibilities. Remember to play around with the settings, experiment with different scenarios, and find the best ways to utilize your recordings to suit your needs.
With this newfound knowledge and a few taps, your iPhone transforms into a versatile tool that not only captures moments but also helps you communicate ideas more effectively. So go ahead, press that record button, and start creating content that resonates with your audience, tells your story, or simply preserves those fleeting digital experiences for posterity. Screen recording on your iPhone is not just a feature; it's a gateway to creativity and sharing in the palm of your hand.