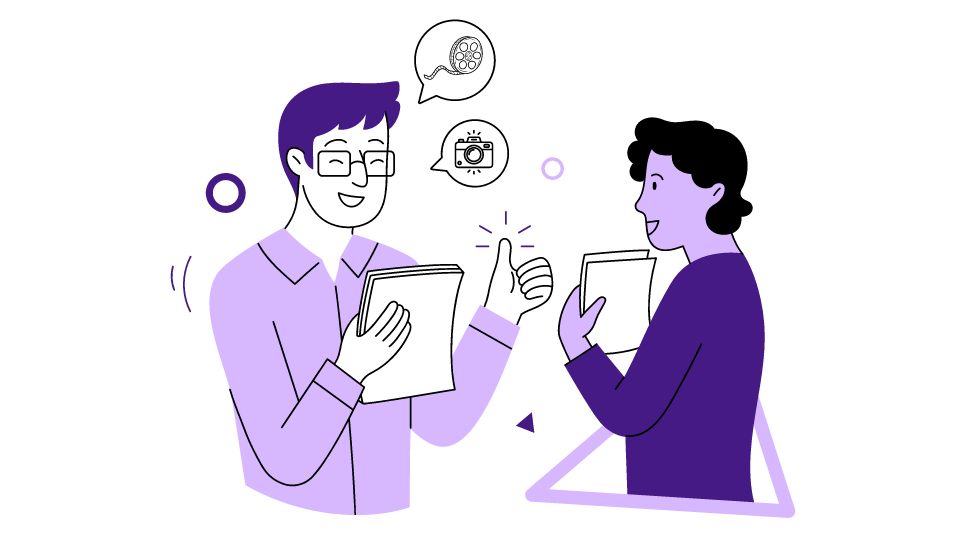
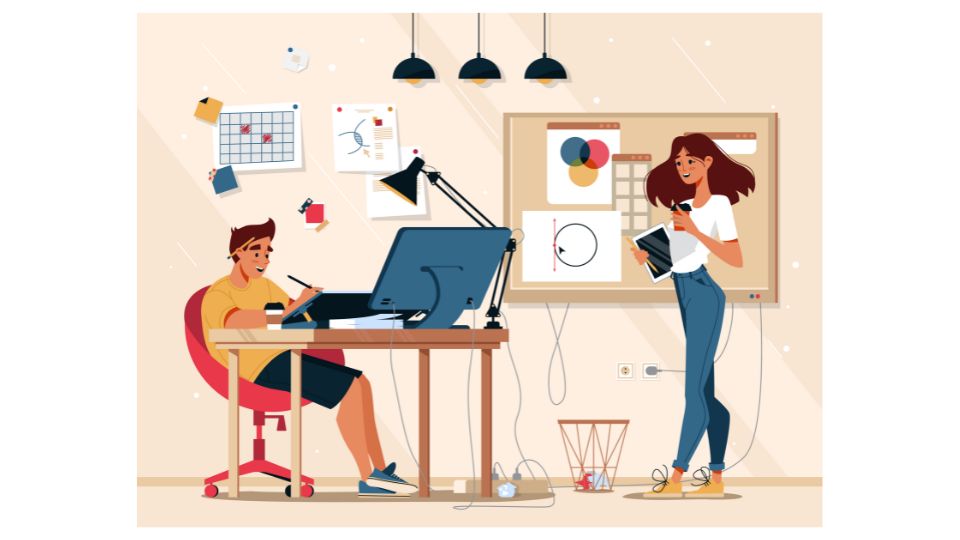
Can ChatGPT Simplify Your Video Creation?
Imagine creating a standout video that commands attention from the get-go. Amidst an ocean of content, with countless videos vying for a moment in the spotlight, finding a way to shine isn't easy. But what if you had access to an innovative tool that could breathe life into your ideas, helping you to script, narrate, and bring your stories to visual reality? Enter ChatGPT, your new collaborative partner in video creation. Let's explore how this AI can be your secret ingredient in the recipe for captivating video content.
Creating impressive videos might seem like a tough nut to crack, particularly if you're not a seasoned video producer. Yet with technology at your fingertips, the process need not be complicated. What if all it took to convert your visions into a polished video was a bit of guidance from an AI companion? From drafting that initial concept to solving pesky production hiccups, we're diving into the step-by-step process that will make you a pro at crafting videos with ChatGPT. Keen to see where this journey takes you? Keep reading, as we unfold the surprisingly simple secrets of AI-driven video production.
Step 1: Conceptualize Your Video
Diving into video creation is an adventure that starts with a clear vision. Before you hit the record button or start piecing together clips, you need a solid plan that will guide every aspect of your project. This initial phase is about laying the groundwork for a video that not only looks good but also delivers your message effectively to the right audience. Here's a step-by-step guide to help you conceptualize your video with precision:
- Identify Your Core Message: Start by pinpointing the essence of what you want to communicate. Are you looking to inform your audience about a new product, share knowledge, or tell a compelling story? Make sure the topic is not only interesting but also adds value to your viewers.
- Know Your Audience: Understanding who will be watching is crucial. Are they young tech enthusiasts or professionals seeking industry insights? Their interests, age, and preferences will shape the way you present your content. This insight helps in creating a video that resonates and maintains viewer engagement.
- Choose the Right Style: The format of your video can vary widely. A tutorial might need clear, step-by-step visuals, while a personal vlog could be more casual and conversational. An animated video can simplify complex topics, and a documentary-style piece can add depth to a narrative. Matching the style to the content and audience ensures your message is delivered effectively.
- Write a Clear Script: Your script is the backbone of your video. It should include everything from the spoken dialogue to the visual cues and transitions. A well-prepared script ensures that you cover all the key points without going off track and helps maintain a consistent pace throughout the video.
Helpful Tools for Video Creation with ChatGPT:

- Descript: This versatile tool not only lets you edit your video content but also provides powerful features like automatic transcription and overdubbing, allowing you to convert text into natural-sounding speech—a perfect companion for ChatGPT scripts.
- Lumen5: Ideal for content creators on the go, Lumen5 uses AI to assist in turning blog posts or text into engaging video content, complete with music and graphics, suitable for social media platforms.
- Synthesia: For those who want to create a video without any filming, Synthesia offers a unique solution. You can generate AI avatars that present your script on-screen, giving a face to your ChatGPT-generated dialogue without the need for actors or a physical set.
By meticulously addressing each of these points, you'll lay a strong foundation for a video project that's not only clear and focused but also tailored to captivate your target audience from the first frame to the last.
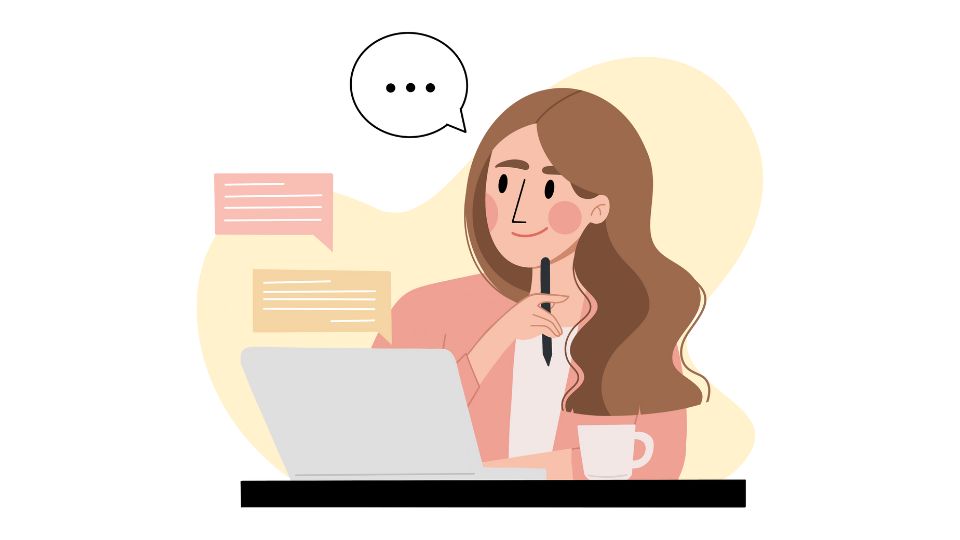
Step 2: Generate the Script with ChatGPT

Embark on your scriptwriting journey with ChatGPT as your co-writer to turn your video concept into a compelling narrative. Here's how you can navigate through the scriptwriting phase, with real-life examples to illustrate each step:
Initiate the Process

Begin by accessing ChatGPT through OpenAI's platform or a third-party application that integrates the AI model. This is your gateway to an interactive scriptwriting experience.
💡Example:
Imagine you're a documentary filmmaker aiming to shed light on urban beekeeping. You would start by opening your preferred ChatGPT interface, ready to translate your passion for bee conservation into a script that buzzes with life.
Craft Your Prompt
A well-defined prompt is crucial. It sets the stage for the AI to understand the direction and tone you're aiming for with your video.
💡Example:
Your goal is to inspire city residents to consider beekeeping. You might enter a prompt like, "Write a script for a short documentary that educates urban viewers about the benefits of beekeeping and how it supports local ecosystems."
Review and Refine
ChatGPT will provide a draft based on your prompt. Read through it carefully, and think about how it aligns with your objectives. This is the time to make tweaks and request specific changes.
💡Example:
If the initial script lacks personal stories or the emotional appeal you were hoping for, ask ChatGPT to include interviews with urban beekeepers or to highlight the journey of a community that transformed a rooftop into a thriving bee haven.
Iterate to Perfection
The scriptwriting process is iterative. Engage with ChatGPT, asking for revisions and suggesting improvements until you're satisfied with the final script.
💡Example:
If the conclusion of your script feels too generic, you might say, "Can you end the script with a powerful call to action, encouraging viewers to take up beekeeping or support local beekeeping initiatives?"
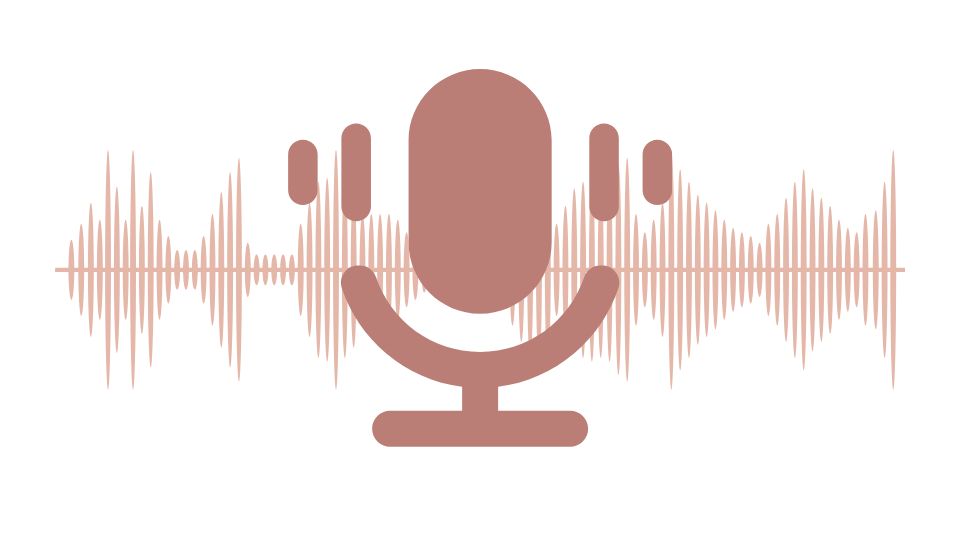
Step 3: Record the Voiceover
A voiceover can make or break your video. It's the narrative thread that weaves together your visuals, so it deserves careful attention. Whether you're using your own voice or a text-to-speech service, the quality of your audio can greatly influence the viewer's experience. Here's how to ensure your voiceover is top-notch:
Recording Yourself:
If you're going for authenticity and a personal connection, nothing beats your own voice. Here are the steps to record a crisp and clear voiceover:

- Invest in a Good Microphone: A decent microphone is crucial for capturing clear, professional audio.
- Find a Quiet Space: Record in a quiet room to avoid unwanted background noise.
- Rehearse Your Script: Practice reading your script aloud to ensure a smooth delivery.
- Speak Clearly: Enunciate your words and maintain a steady pace to keep your audience engaged.
- Edit Your Audio: Use audio editing software to clean up any mistakes or pauses.
- Export Correctly: Save your recording in a high-quality format that's compatible with your video editing software.
Using Text-to-Speech:
For those who prefer text-to-speech technology, here's how to get a voiceover that sounds as natural as possible:
- Select a Text-to-Speech Software: Choose a service like Google Text-to-Speech or Amazon Polly.
- Input Your Script: Enter the ChatGPT-generated script into the software.
- Customize the Voice: Pick a voice that matches the tone of your video and adjust settings like speed and pitch.
- Review and Adjust: Listen to the output and make any necessary changes to pronunciation or emphasis.
- Download and Integrate: Once you're happy with it, download the voiceover and add it to your video.
To help you decide on the best text-to-speech tool for your project, here's a comparison table of popular options:
💡 Voiceover Tips:
- Consistency Matters: Keep the same tone and pace throughout your video for a professional feel.
- Emote When Necessary: If you're recording yourself, don't be afraid to express emotion where appropriate.
- Script Clarity: For text-to-speech, make sure your script is free of jargon and complex sentences that could confuse the software.
- Technical Checks: Always test your voiceover against the video to ensure synchronization and appropriate volume levels.
Step 4: Create Visual Content
Crafting the visual narrative of your video is a thrilling process that brings your script to life. Whether you're aiming for a simple slideshow or a cinematic masterpiece, the key lies in selecting and combining the right visual elements that align with your message and captivate your audience. Here's how to curate and create visuals that tell your story:
- Source Your Visuals: Depending on your video's needs, you may choose to use stock footage, images, or create original graphics and animations. Websites like Pixabay, Unsplash, and Pexels offer high-quality, royalty-free images and videos. For animations, tools like Adobe After Effects or Blender are excellent choices for creating custom visuals.
- Storyboard Your Ideas: Before you start piecing together your video, sketch a storyboard or create a shot list. This will help you visualize the flow of your video and ensure that each visual element reinforces your script's message.
- Incorporate Branding Elements: If you're creating a video for a business or personal brand, include logos, color schemes, and any other brand-specific graphics to maintain consistency and recognition.
- Edit with the Right Software: Choose a video editing software that suits your skill level and project requirements. Adobe Premiere Pro and Final Cut Pro offer advanced features for professionals, while DaVinci Resolve and Shotcut provide powerful editing capabilities for free.
- Sync with Your Voiceover: As you place each visual on the timeline, make sure they're in harmony with your voiceover. The visual transitions should feel natural and support the pacing of your narration.
To help you choose the right resources for your visual content, here's a comparative table of popular websites for sourcing visuals:
Step 5: Edit and Finalize the Video

The home stretch of your video creation journey is the editing and finalizing phase. This is where your careful planning, scripting, recording, and visual assembly are refined into a polished end product ready for viewing. Here's a step-by-step guide to ensure your video shines:
- Review for Consistency: Play back your video several times, checking for consistency in visual style, pacing, and narrative flow. Ensure the transitions are smooth and that the visuals accurately reflect the script.
- Add Engaging Effects: Consider using effects such as fades, text animations, or light color grading to enhance the professional quality of your video without distracting from the content.
- Incorporate Text Overlays and Captions: Use text overlays to highlight important points and ensure any on-screen text is legible and stylistically consistent with your video's theme.
- Balance Your Audio: Fine-tune the voiceover, music, and sound effects levels to achieve a harmonious audio mix that complements the visual elements without overwhelming them.
- Final Quality Check: Look out for any technical issues, such as audio glitches, video artifacts, or typos in your text overlays.
- Export for Your Platform: Select the appropriate file format and resolution for your distribution channel, whether it's YouTube, Vimeo, or social media platforms.
📺 YouTube Content Review Tools:To ensure your video is optimized for YouTube, consider using the following tools and services:
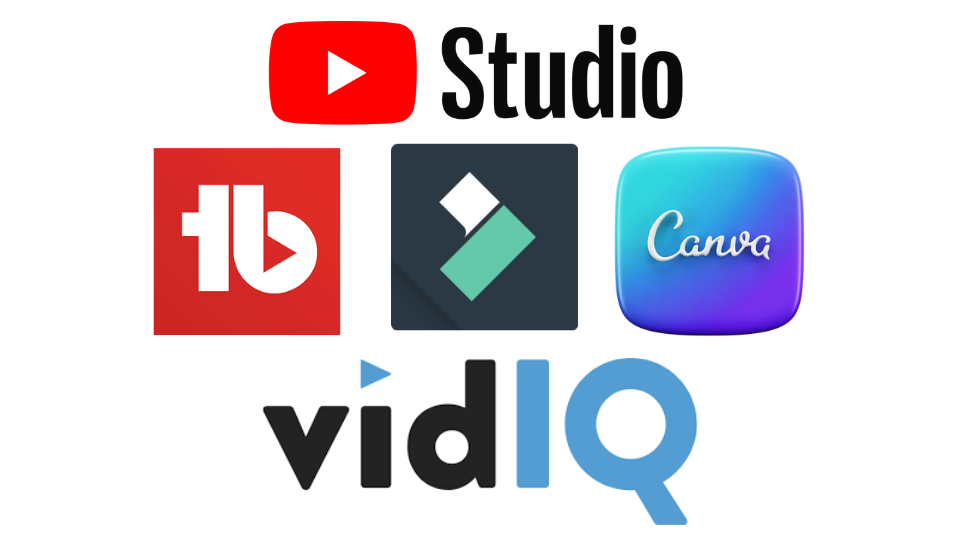
- YouTube Studio: Use YouTube's built-in analytics and editing tools to check how your video performs and make last-minute cuts or blurs as needed.
- TubeBuddy: This browser extension offers advanced insights, SEO tools, and end screen templates to help you optimize your video for better reach and engagement.
- VidIQ: Gain valuable data on how your video stacks up against the competition, with keyword research tools and performance analytics.
- Wondershare Filmora: An excellent option for YouTubers, Filmora provides easy-to-use editing tools, effects, and presets to make your video stand out.
- Canva: If you need to create additional graphics or thumbnails for your video, Canva is a user-friendly design tool with a plethora of templates and design elements.
Troubleshooting Tips and Common Issues

Venturing into video creation with ChatGPT can be a thrilling experience, though you may encounter some bumps along the way. Let's smooth those out with a friendly Q&A:
- Q: My voiceover sounds terrible. How can I improve it?
- A: Crystal-clear audio is crucial for keeping your viewers engaged. To achieve this, record in a peaceful location to avoid unwanted noise. Consider investing in a quality microphone for superior sound. When using text-to-speech, don't hesitate to explore various software voices and tweak the pronunciation settings until you find the perfect match for your video's tone. It's all about making the digital voice sound as pleasant and lifelike as possible.
- Q: The video doesn't sync with the audio. What's the fix?
- A: Achieving perfect harmony between your video and audio can be tricky, but it's essential for a professional feel. Use the precision tools in your video editing software to nudge the video clips or audio tracks into sync. It may require a bit of cutting, stretching, or even altering the speed of your footage, but the end result will be worth the effort. Think of it as choreographing a dance where every step matches the beat.
- Q: I'm struggling to export my video. What should I do?
- A: Export woes can be frustrating, but they're often fixable. First, make sure your editing software is up-to-date to benefit from the latest fixes and features. Then, check that your computer's specs are up to snuff for the demands of video rendering. If the problem persists, consider lowering the video quality settings or switching to a different file format that may be more cooperative with your setup. Sometimes, a simple adjustment is all that stands between you and a successfully exported video.
Additional Tips and Tricks
- Script Revision: It's a great idea to have someone else review your ChatGPT script. They can spot errors and suggest better ways to say things, making your script sound more natural.
- Keep it Engaging: Use exciting visuals and a quick pace to keep your audience interested. Graphics, animations, and relevant clips can make your video more captivating.
- Optimize for Platforms: Different social media platforms have specific video requirements. Make sure your video fits these to improve its performance. For example, Instagram likes square videos, while YouTube prefers horizontal ones.
Remember, while ChatGPT can help you write a great script, creating the video itself will need other tools and a dash of creativity. Keep practicing, and each video you make will be better than the last!
Wrapping Up: Your Video Creation Adventure with ChatGPT

That's a wrap, friends! We've journeyed through the ins and outs of making videos with a little help from ChatGPT, and you're now ready to turn your ideas into engaging visual stories. From figuring out your message to polishing your final edit, you've got the tools and tips to make video creation smoother and more fun.
Remember, making videos is all about expressing yourself and connecting with others. Whether you're aiming to educate, entertain, or inspire, putting your personal stamp on your projects is what will draw people in.
As you dive into your next video, keep these steps in mind but don't be afraid to mix things up and try something new. The world of video is always changing, and there's plenty of room for your fresh takes and creativity. Hit that record button and let the world see your vision come to life.
🎥 Quick Reminder:
Stay true to your style, keep learning, and enjoy the process. Every video you create is a chance to share a piece of your world. So go for it—create, share, and most importantly, have a blast doing it!
Got questions or want to talk about your video-making adventures? Drop a line in the comments. This is a place to learn from each other and grow together. Can't wait to see what you'll create next. Keep those cameras rolling!


